
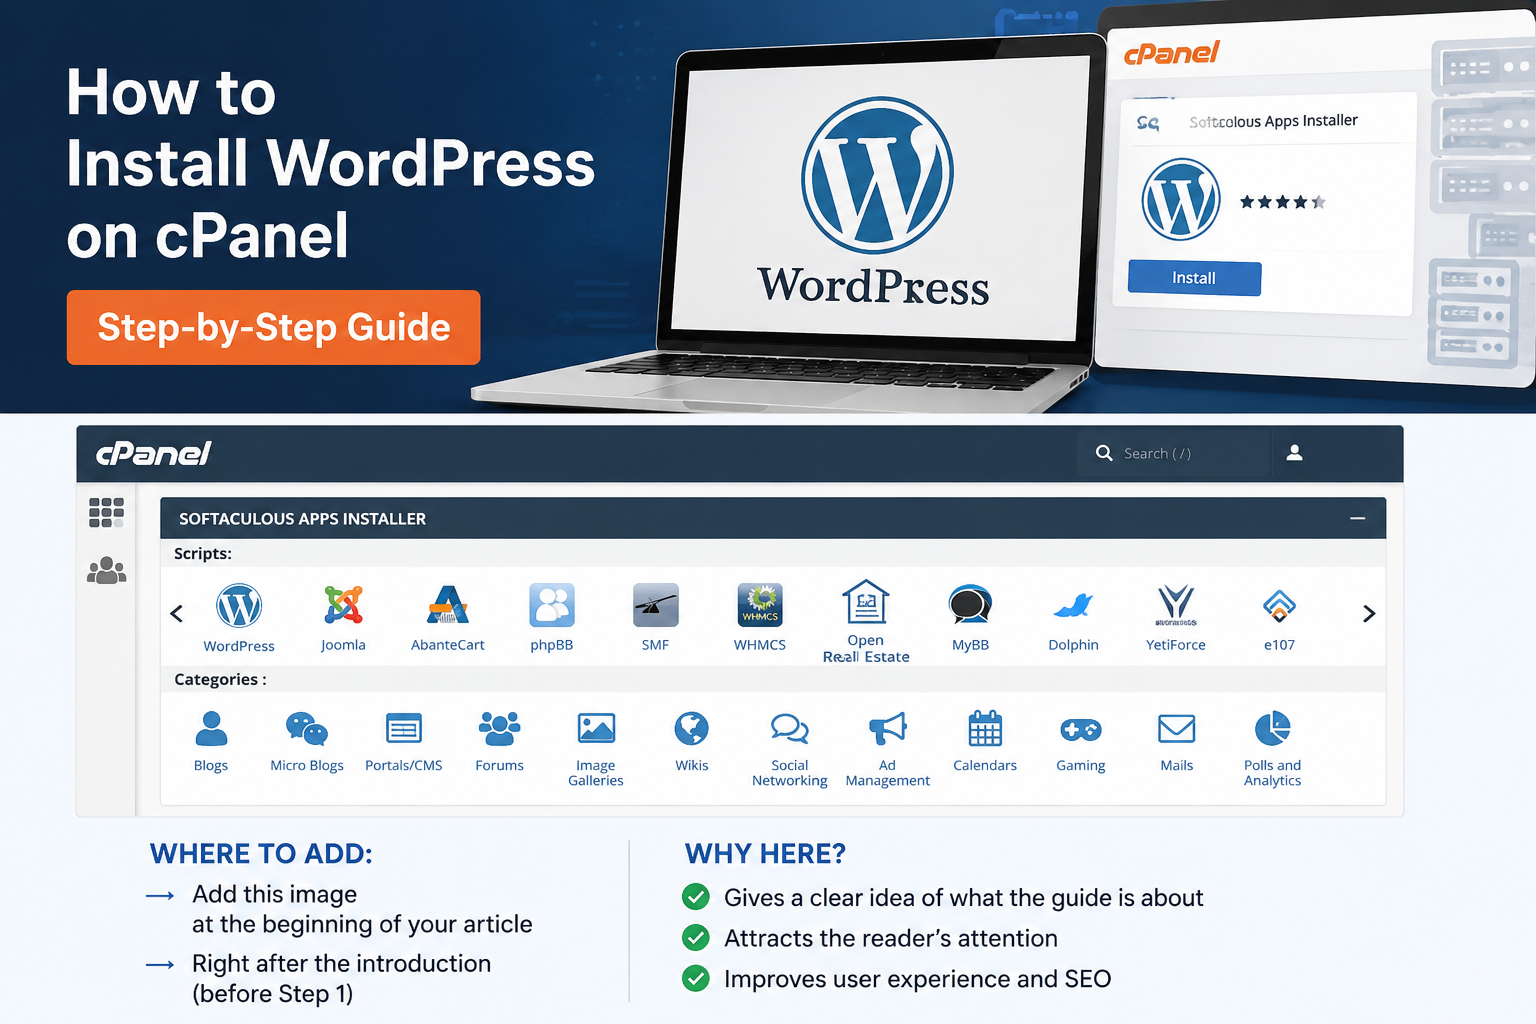
How to Install WordPress on cPanel Step by Step (2026 Guide)
The first time I installed WordPress, I honestly thought I broke my website.
I had just bought a domain, connected hosting, opened cPanel… and then stared at the screen for almost 20 minutes trying to figure out what “Softaculous” even meant. I clicked random buttons, accidentally installed WordPress inside a subfolder, and ended up with a weird URL like:
mywebsite.com/wp
Not exactly the clean website setup I had imagined.
If you are learning how to install WordPress on cPanel for the first time, this guide will make the whole process much easier.
If you’re feeling confused right now, don’t worry. Almost every beginner goes through this stage. The good thing is that installing WordPress in 2026 is much easier than it used to be — especially if your hosting gives you access to cPanel.
I’ve installed WordPress on multiple websites over the past few years, including blog sites, business websites, and affiliate projects. The process is mostly the same every time, but there are a few small settings that can save you from future headaches.
This guide is written for complete beginners, and I’ll show you the exact method I personally use.
How to Install WordPress on cPanel Using Softaculous
Before starting, make sure you already have:
- A domain name, for example:
yourwebsite.com - Web hosting with cPanel access
- Login details for your hosting account
That’s it. You do not need coding knowledge.
Step 1: Login to Your Hosting cPanel
After buying hosting, your hosting provider usually sends an email with your cPanel URL, username, and password.
The login link usually looks like this:
yourdomain.com/cpanel
or
yourdomain.com:2083
Once you login, you’ll see many icons and settings. Don’t panic if it looks overwhelming. You only need one thing today.
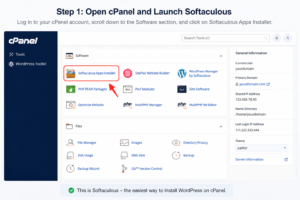
Step 2: Find Softaculous Apps Installer
Scroll down inside cPanel and look for:
- Softaculous Apps Installer
- WordPress Manager
- Install WordPress
Different hosting companies use slightly different names.
On most hosting accounts, you’ll see a WordPress logo somewhere on the homepage. Click it.
Step 3: Click “Install WordPress”
Now you’ll see a page with details about WordPress.
Click the big Install button.
This is where beginners often make mistakes, so pay attention carefully.
Step 4: Choose HTTPS Version
You’ll usually see options like:
http://https://http://wwwhttps://www
Always choose:
https://
Why? Because websites without HTTPS show a “Not Secure” warning in browsers, and Google doesn’t like that.
Most hosting companies now include free SSL certificates automatically.
If HTTPS is not working yet, install SSL first from cPanel.
Step 5: Select Your Domain Name
Choose the domain where you want WordPress installed.
Example:
askwps.com
Now comes the most important part.
You’ll see something called:
In Directory
Leave this field empty.
Do not type:
- wp
- blog
- wordpress
If you type anything there, your website will install inside a folder like:
yourwebsite.com/wp
I made this mistake on my first blog and had to reinstall everything.
Step 6: Set Your Website Name
Now enter your site name and site description.
Example:
Site Name: AskWPS
Site Description: WordPress Tips, Blogging Guides & SEO Tutorials
Don’t overthink this part too much because you can change it later from WordPress settings.
Step 7: Create Admin Username and Password
This step matters more than most beginners realize.
Avoid usernames like:
- admin
- administrator
Hackers already try these common usernames automatically.
Instead, use something unique.
Example:
- faheemwps
- askwpsadmin
For password, use a strong password and save it somewhere safe.
I personally use a password manager because forgetting WordPress passwords becomes annoying very quickly when managing multiple sites.
Also enter your email address carefully because WordPress uses it for password recovery.
Step 8: Choose Language
Select your preferred language.
Most people choose English.
Click:
English (United States)
Step 9: Install WordPress
Now click the final Install button.
Wait around 30 to 60 seconds.
That’s it. Your WordPress website is now live.
Step 10: Login to WordPress Dashboard
After installation, you’ll see two important links.
Your website:
https://yourwebsite.com
Admin dashboard:
https://yourwebsite.com/wp-admin
Open the admin link.
Now login using your username and password.
Welcome to WordPress. This is where your entire website will be managed.
Many beginners prefer to install WordPress on cPanel using Softaculous because it is fast and beginner friendly.
The First Things I Always Do After Installing WordPress
After installing WordPress, I never leave the site untouched.
There are a few important settings I configure immediately. These small steps save time later.
1. Change Permalink Structure
Go to:
Settings → Permalinks
Select:
Post Name
This makes your URLs clean.
Good example:
yourwebsite.com/install-wordpress-guide
Bad example:
yourwebsite.com/?p=123
Clean URLs are better for SEO and look more professional.
2. Install a Lightweight Theme
One mistake beginners make is installing heavy themes with too many animations and features.
Your site becomes slow instantly.
For blogging websites, I usually recommend:
- Astra
- GeneratePress
- Kadence
These themes are fast and beginner-friendly.
For AskWPS-style websites, Astra works really well.
3. Install Essential Plugins
Don’t install 30 plugins immediately.
Too many plugins can slow down your site and create problems.
I normally start with:
Rank Math SEO
Helps with SEO optimization.
LiteSpeed Cache
Improves website speed.
WPForms Lite
Creates contact forms easily.
Site Kit by Google
Connects Analytics, Search Console, and PageSpeed Insights.
4. Delete Default Content
WordPress automatically adds:
- Sample Page
- Hello World post
Delete them.
A surprising number of beginner websites forget this.
5. Set Up Basic Pages
Before publishing articles, create these pages:
- About Us
- Contact Us
- Privacy Policy
- Disclaimer
- Terms & Conditions
These pages help build trust and are important for AdSense approval.
Common Mistakes Beginners Make
Installing WordPress Multiple Times
Some people think installation failed and click Install again.
Result? Multiple WordPress copies get created.
If your site loads properly, don’t reinstall it.
Ignoring Website Speed
Many beginners install fancy sliders, heavy themes, and random plugins.
Their homepage becomes painfully slow.
Simple websites usually perform better.
Forgetting SSL
Without SSL, browsers show warnings, SEO can suffer, and users lose trust.
Always make sure HTTPS is active.
Not Updating Plugins
Outdated plugins are one of the biggest security risks in WordPress.
I once ignored updates on a small test site and it eventually got infected with spam pages.
Now I update plugins regularly.
Do You Need cPanel in 2026?
Technically, no.
Some hosting companies now offer custom dashboards instead of cPanel.
But honestly, cPanel is still one of the easiest systems for beginners because it is simple, widely supported, and tutorials are everywhere.
If you can use cPanel once, you’ll probably never struggle with WordPress installation again.
Real Advice After Installing Your First Website
Most beginners focus too much on themes, logos, and colors.
And they ignore what actually matters:
Publishing useful content consistently.
Your first website will not be perfect.
Mine definitely wasn’t.
My first blog had broken layouts, ugly fonts, slow pages, and a terrible logo design.
But after writing regularly and learning step by step, things improved naturally.
Don’t wait for perfection before publishing.
If you are learning how to install WordPress on cPanel for the first time, this guide will make the whole process much easier.
Final Thoughts
Installing WordPress through cPanel is much easier once you do it yourself the first time.
The process sounds technical initially, but it’s mostly just clicking the right buttons, avoiding a few beginner mistakes, and keeping things simple.
If you followed this guide carefully, your WordPress website should now be live and ready for customization.
The next step is the exciting part: creating content and building your website into something real.
Askwps is a technology and blogging website that shares helpful guides about WordPress, SEO, web hosting, blogging, website speed optimization, and online tools. Our goal is to provide simple and practical tutorials for beginners and website owners.